


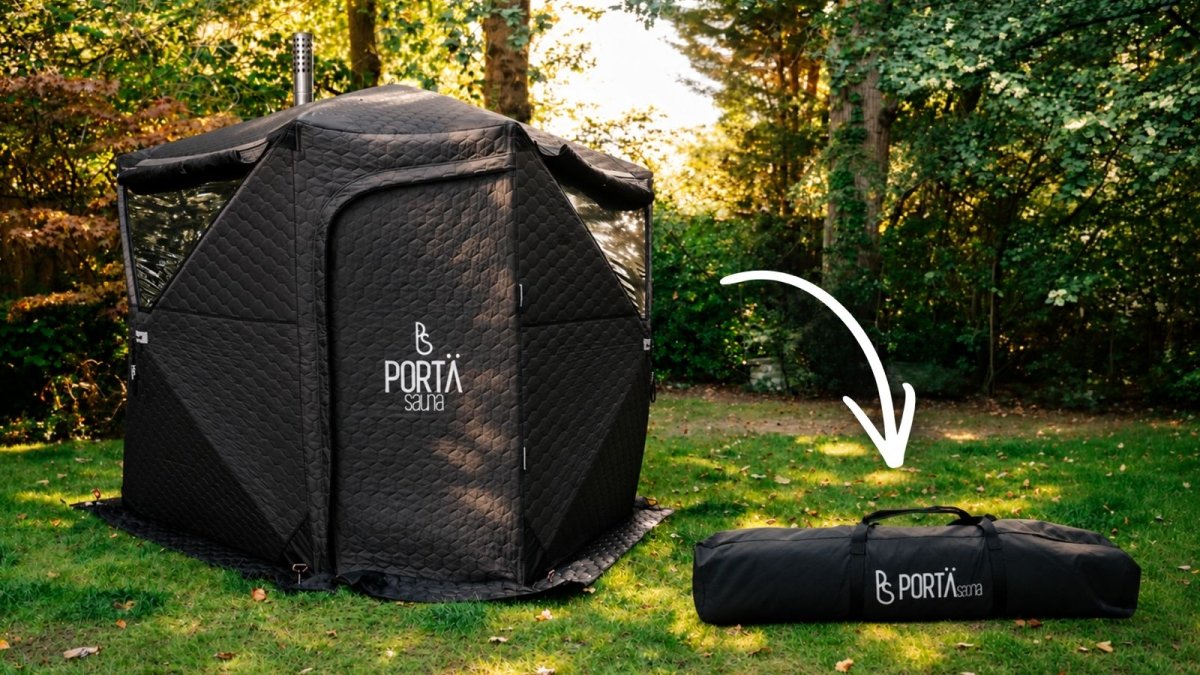
"How easy is it to take down?" It's one of the questions we get asked most at PortaSauna. So rather than tell you, we filmed the whole thing, start to finish, on a KABIN sauna tent in the garden.
Watch the video, or follow the step-by-step guide below. Either way, you'll see there's nothing to it once you know the order.
Handy tips before you start
- Have all your bags ready. Stove bag, peg bag and tent bag, open and to hand, so everything goes straight in.
- Get yourself an ash bucket. A metal one makes clearing out the stove quick and tidy.
- Leave one bench out until the very end. It becomes your workbench, and it makes every step easier.
Step 1: Make sure the stove is cool
This is the most important step. Never start packing down while the stove is still hot. Check it has cooled down completely before you touch anything.
Step 2: Empty the stones
Take every stone out of the rock box on top of the stove. Here's a trick we learned the hard way: put the stones down on the bench as you go, rather than trying to hold them. There's around 20 kilos of stones in there, so it's far easier. Make sure every last one is out and the rock box is empty.
Step 3: Clear out the ash
With a small spade, knock any loose ash down into the ash tray, then pull the tray out and tip it into your ash bucket. Repeat until the stove is as clear as you can get it.
What to do with the ash? Many people put it on the garden, because it's good for the plants. If you're at an event, bag it up and dispose of it properly when you get home.
Step 4: Thermometer, bucket and ladle
Take the thermometer down off the side, and empty any water out of the bucket and ladle.
Step 5: Fold the benches
Take the cedar benches out. To fold them, simply unclick the two folding legs and fold the bench in. Remember to leave one bench standing, because you'll need it for the next few steps.
Step 6: Take the stove apart
- Take the sides off the rock box.
- Lift the flue out with two hands and take it apart, piece by piece.
- Lift the stove out of the tent and set it down on your spare bench.
- Loosen the butterfly clips and fold the sides in, then repeat at the other end.
- Tip the stove onto its side and take the feet off.
You can store the flue inside the stove if you like. We keep it separate because it's easier for travelling.
Step 7: Bag the stove
Bring the stove to the edge of the bench and line the stove bag up underneath it. Get the stove as close to the bottom of the bag as you can, then let its own weight do the work as you slide it in. Check the corners of the stove sit in the corners of the bag.
Little trick: pop the stove legs into the chimney hole. You won't lose them, and you'll know exactly where they are next time. The rock box pieces sit neatly on top. Then zip up the bag.
Step 8: Remove the poles
Undo the fastening on each pole, and the one in the middle, and they slide straight out. Use your feet to help pull the sections apart.
Step 9: Close the window covers
Roll all the window covers back down. If you've taken any off, put them back on now.
Step 10: Pull up the pegs
Twist each peg until it loosens, then pull it straight up. Everything goes back into the peg bag. At events, we keep all the accessories together in one box, and each one comes with its own bag.
Step 11: Collapse the tent
Step inside the tent, put your hands either side, place your thumbs on the centre piece and pull the tent down.
Important: make sure the door is shut before you go any further.
Then work your way around the outside, holding on and using your feet, pushing in each side until the whole tent collapses down.
Step 12: Roll it up
Lift the tent onto your bench. Fold it in on itself so the feet are at the bottom, then roll it up all the way around. Pull it tight as you go and keep a good grip.
Step 13: Into the bag
Our tent bags are made 50% bigger than they need to be, because nobody wants to be wrestling a tent into its bag at the end of the day. Make sure everything is tucked in, then pinch and zip.
Don't forget: if you have a KABIN or KABIN XL, put the tent poles into the tent bag too, so you'll never lose them.
Finally, fold the bag down and fasten the straps. They clip together just like an aeroplane seat belt.
And that's it
Your sauna is packed and ready for its next session, whether that's back in the shed for winter, round at a friend's, or off to an event. If you're heading to an event, the only other thing you'll need is a box of wood.
Got a question?
If you'd like help with packing down, setting up, or choosing the right sauna for you, drop us a message at hello@portasauna.co.uk. We're here to help.
Or explore the full PortaSauna range at portasauna.com.


Leave a comment
All comments are moderated before being published.
This site is protected by hCaptcha and the hCaptcha Privacy Policy and Terms of Service apply.